
Mistake #1: Sharing Everything You Shoot
Sharing literally everything you shoot on your social media. First, a curated aesthetic teaches people instantly what you are all about. You are likely to get more follows if your vibe is immediately clear. Select images with a similar tone and color scheme and have a plan for your posting order and stick to it. This will help you post a variety of images and not lean toward a bunch of the same content and poses.
It’s important to hone in on the work that best represents you, so your clients know what they are going to get from you. I am constantly working toward ensuring I am setting accurate and realistic expectations for my clients so they know precisely what they are going to get from me. I set these exceptions in the form of being clear about turnaround time, shooting & editing style, number of images to expect, and what it will be like to work with me.
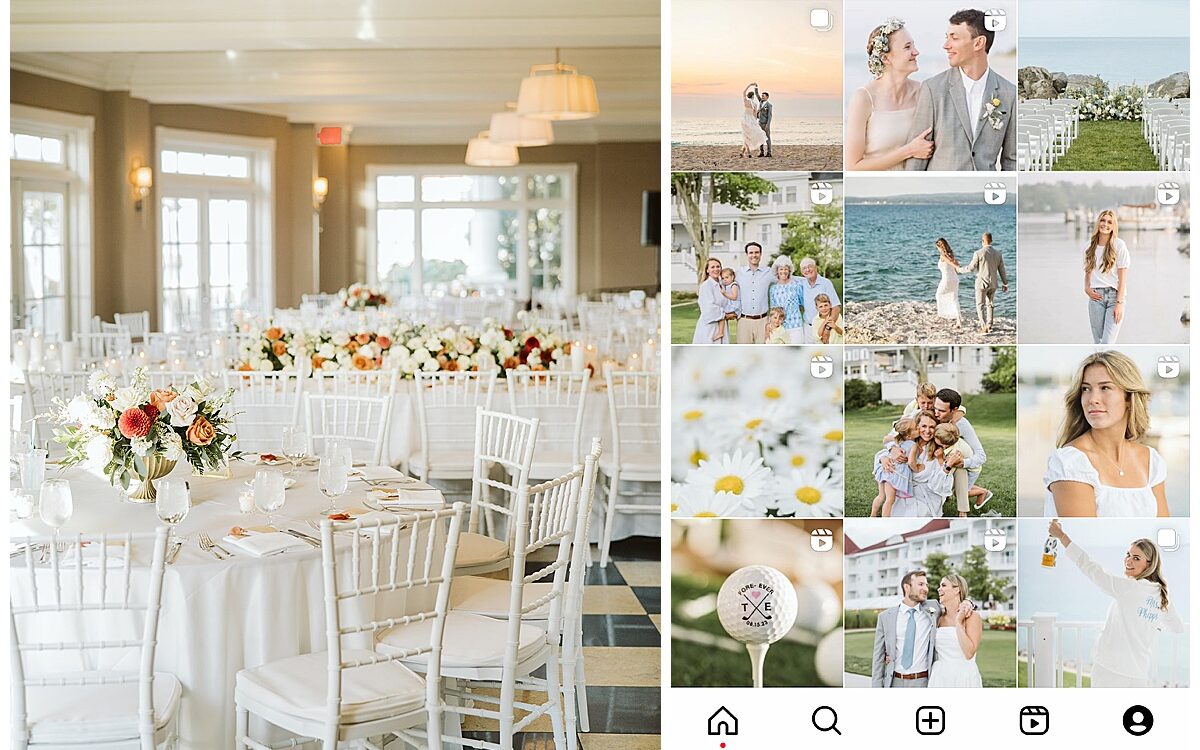
When creating a curated gallery, social media grid, website portfolio, etc. You get to fine tune what your aesthetic looks like. Are you a natural, true to life wedding photographer? Is your vibe more creative, dark and moody? Are you into posed/styled work, or do you want to lean into candid moments with less direction? I aim for partly posed portraits (because most couples want a bit of direction!) and lots of authentic, candid moments. To help nail your specific look, select 50-100 of your favorite images and put them in a tiled format (akin to a Pinterest board) so you can see what overall color scheme you naturally lean towards. (I did this by uploading them to a pictime gallery and it automatically puts them into a tiled format) Once you do this & you see what your natural color scheme is, you will then delete the images that distract from the rest and add in a few more that really represent where you want to be. Moving forward, aim to shoot & edit in ways that will best represent this look! If you look at my Instagram grid, you will see a lot of whites, greens, blues, and pastels.
I keep the aforementioned grid on my desktop and refer to it when editing if I ever worry I am straying from that aesthetic. Your eyes can get tired after many hours of editing. I do this to ensure all my galleries have a consistent look. I want that consistency across an individual gallery from getting ready to the ceremony, portraits, and all the way through to the reception. I also want consistency across my entire body of work. Yes, colors & vibes might vary from job to job. But if you are consistent with your shooting and editing, you will be able to hone in on your own personal style and maintain that over many jobs.
I recently spoke with a peer who pointed out something my website was missing, and that was that my curation was pretty good, but that the placement of images on my website needed some work. I had some images from the same couple sitting next to each other, I had florals next to florals, and tents next to tents. When creating your portfolio gallery, & your Instagram posts, you want to ensure that you are varying your content so it flows well, but represents different parts of each wedding.
Mistake #2: Presets
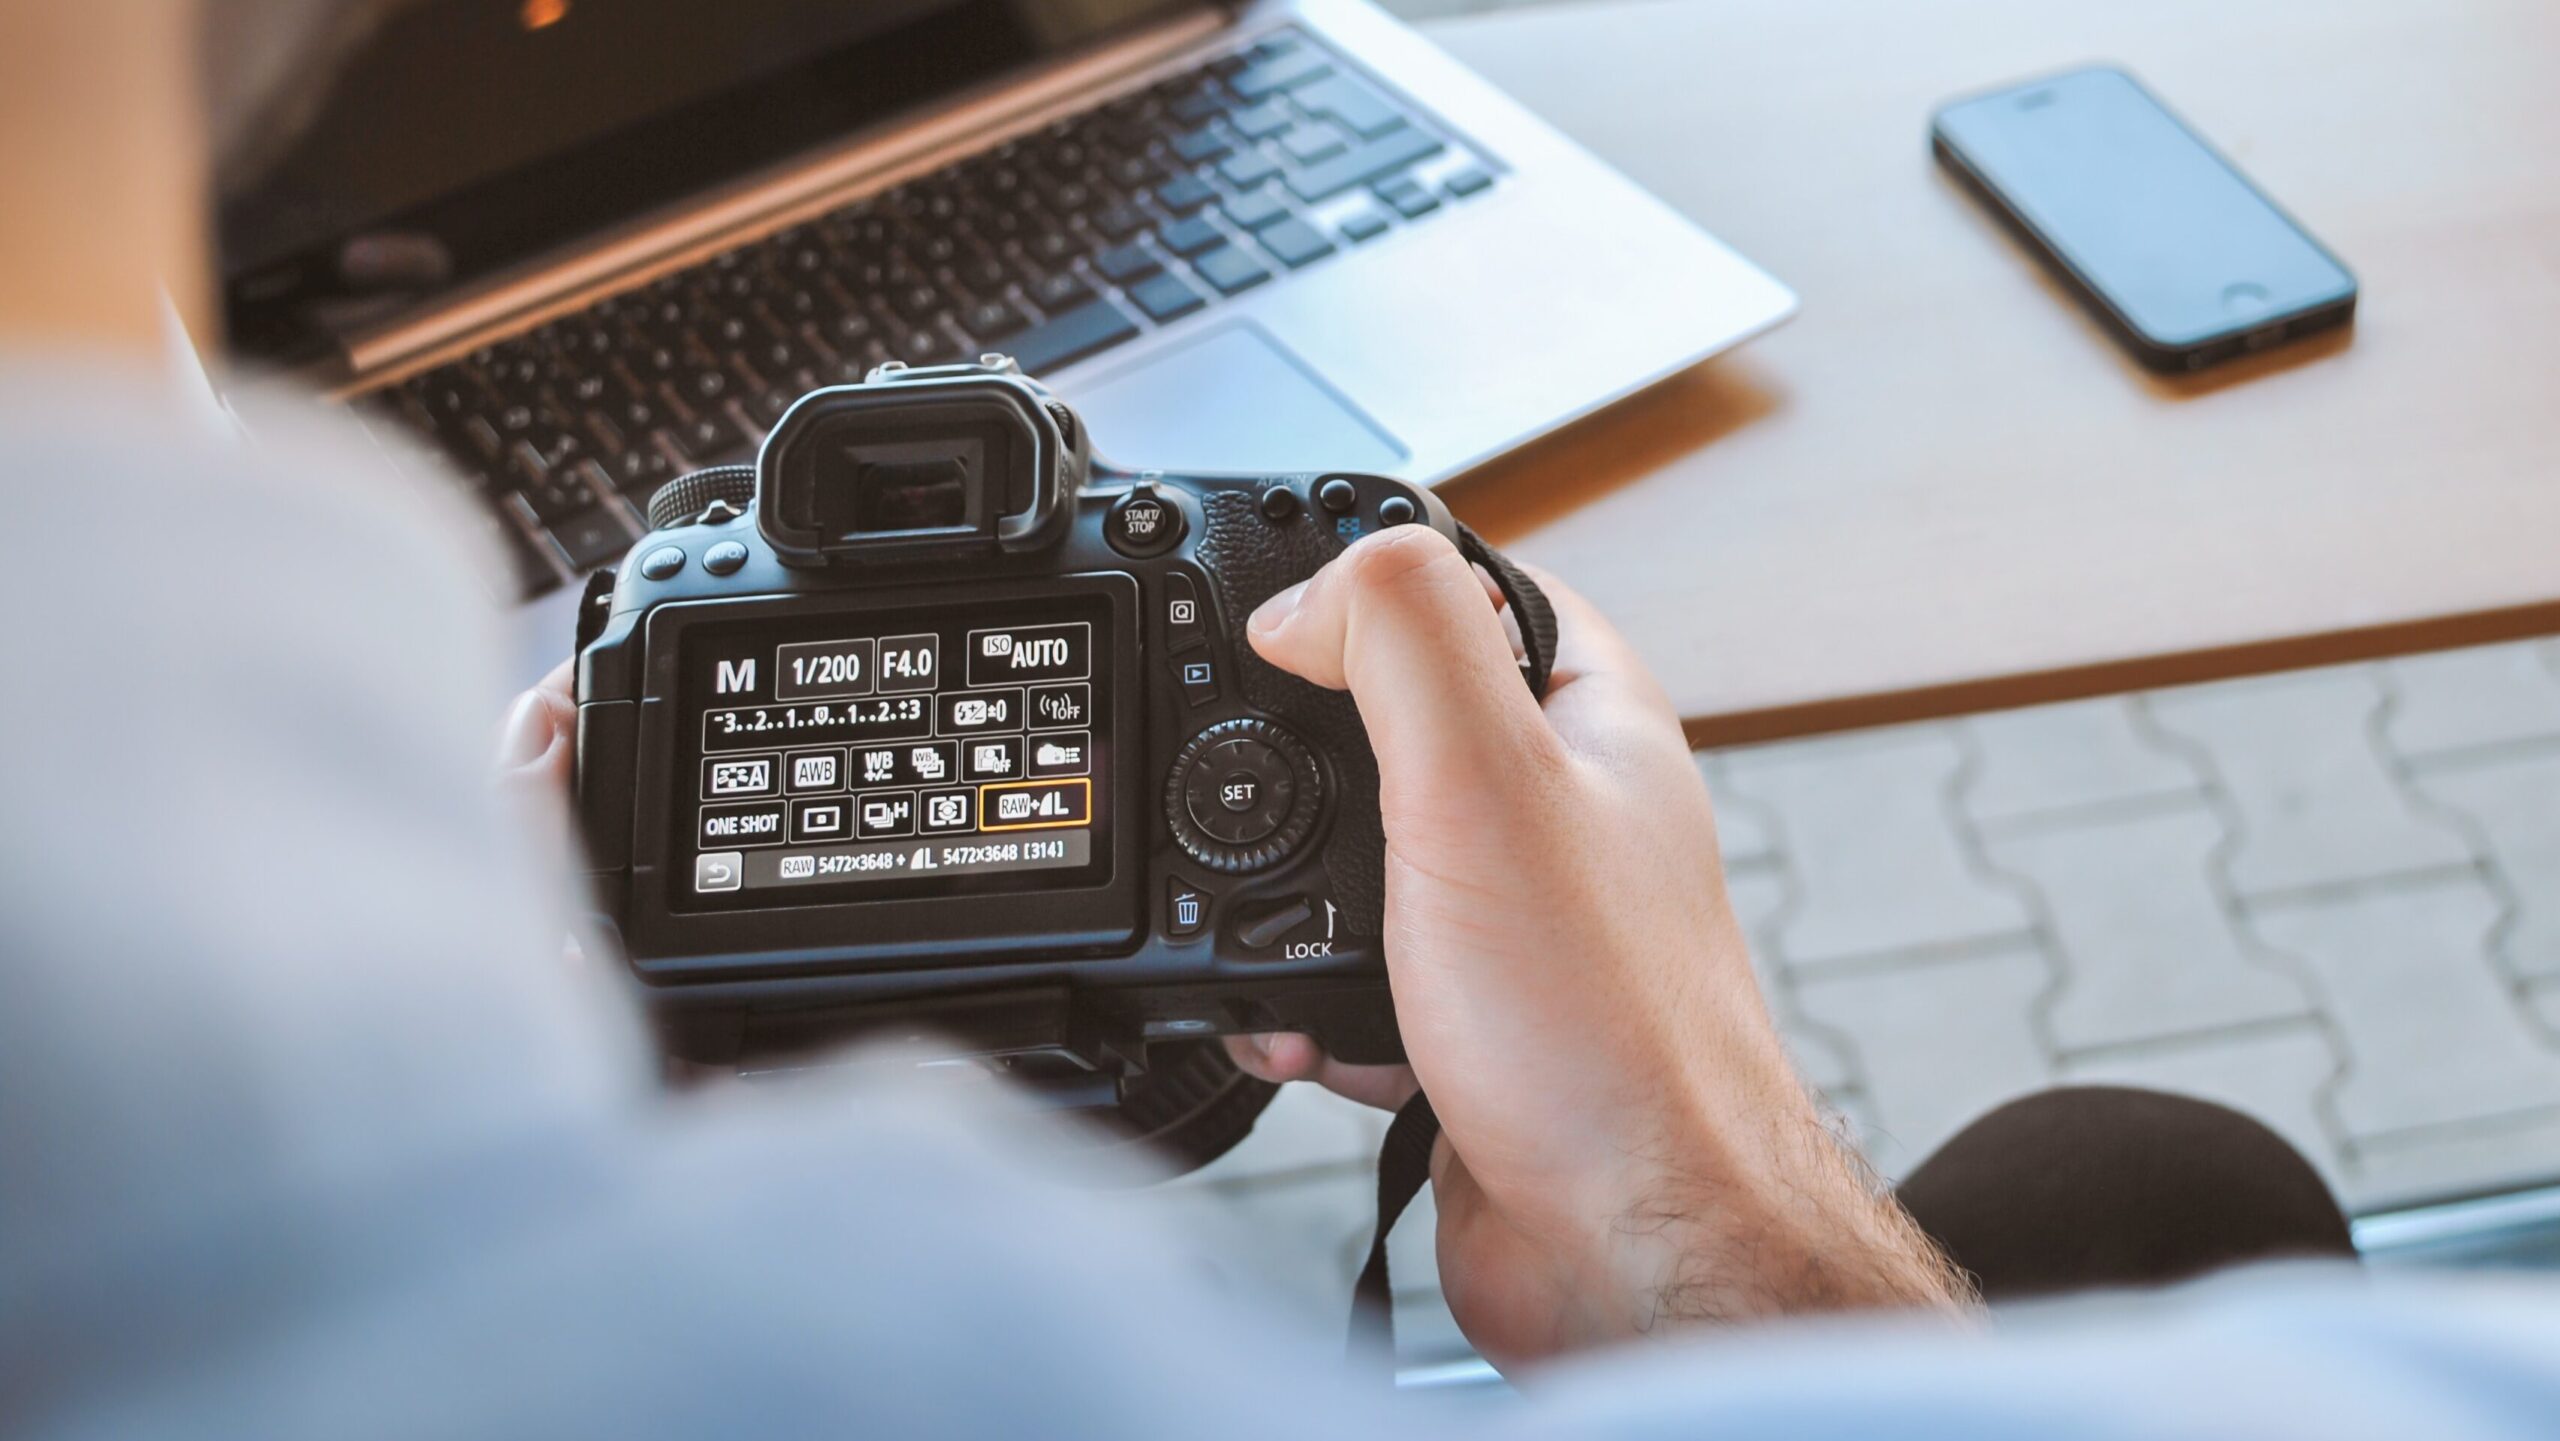
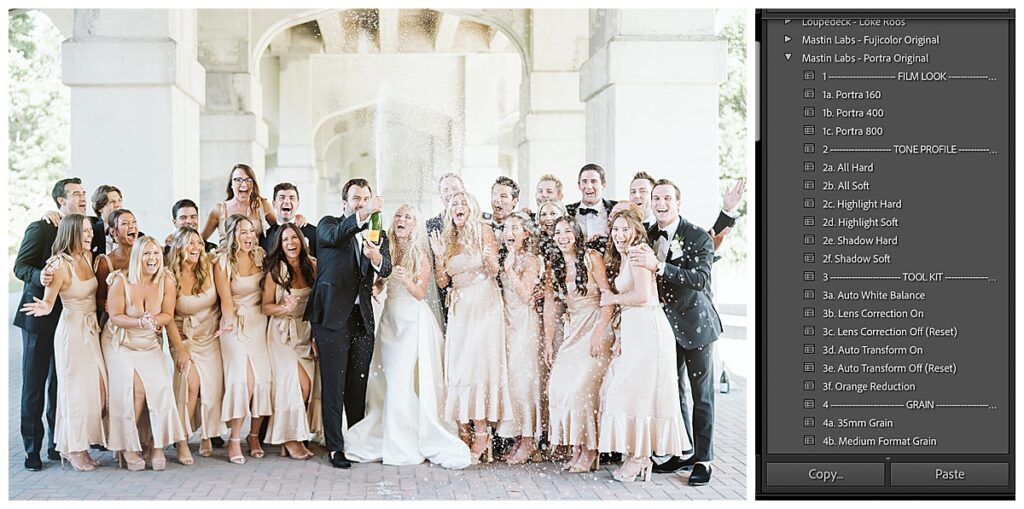
Thinking applying a Lightroom preset is magically going to make your photos look good. Unfortunately that is not usually how it works. You have to learn how to shoot and edit first. Once your photo is pretty close to how you want it, then you get to apply that preset and voila! it adds that slightly more polished look that makes you feel like your image is now finished. Presets can be SO helpful, especially when you have a look nailed down and you can apply it to an entire shoot. But you still have to get the technical side of photography down pat, then you can start using presets and filters. Trust me, a discerning eye can spot preset or filter a mile away.
Anyone who is trying to sell you a filter or preset as a quick fix to your images, is straight up lying to you. It is just. not. that. easy.
Mistake #3: Natural Light
Not learning how natural light really works. Natural light can be your best friend, but it can also sabotage you. If you are looking for clean whites and bright colors, but you are ending up with some muddy highlights and muted color, you might go back to the drawing board to work on natural light that really serves your own personal aesthetic.
One rule of thumb to always remember is that the color of your surroundings greatly impact your image. For example, if you are shooting under a canopy of trees but have a big bright sky in front of you lighting your subject, you might think you are all set. but then get into Lightroom and realize that you just can’t get the colors perfect. That might be because all that green from the grass and trees has reflected onto your subject’s skin, making them look a bit off. Another example is that i live in a really cute red house and when I first moved in, i thought it was the perfect spot for photos, but after a few shoots, I realized that the red cast so much color onto my subjects skin, I had to stop shooting here! Yes, you can fix this stuff in post processing, but I am a big fan of getting it right in camera so editing is a simpler process.
Another thing to keep in mind when it comes to natural window light is that the room you are in matters. If all the light is coming from one side of the room and the walls are wood or painted dark, that is going to create a vastly different image than if the walls are bright white, or if there are windows on multiple walls.
When I first started out, I thought shooting in natural light just meant shooting outside. But I couldn’t figure out why some shoots turned out SO good and others were really bad. I finally had this aha moment when i was shooting on a wooded path. The couple was standing on a long path of evergreens and behind them was a beautiful field full of fall colors. Sounds beautiful right? but what was in front of them was a big wall of dark green trees. So even though i was outside and had SOME natural light on them, really the majority of the bright light was coming from behind them, so their skin was dark and muddy and they were sort of glowing when i got them to look bright enough. The fix was simply turning them around. Yes, I lost the field of trees, but I gained a really great set of leading lines by way of the path of trees, which directed the viewer right to the couple. Their skin was bright and true to life, and the whole photo was 100 times better!
The best way to learn about natural light is to shoot, shoot, shoot. The more experience you have, the more this stuff will just click!


